Zener Diode Circuit Diagram | Working, Symbols & Applications
When exploring a Zener diode circuit diagram, you’ll find it fascinating how this small component can maintain a stable output voltage amidst fluctuating conditions. Imagine diving into a world where current flows are precisely controlled, ensuring your electronic devices function efficiently. But what makes the Zener diode indispensable in voltage regulation, and how does it perform its magic? There’s much more to uncover about its essential role in circuit design.
Key Takeaways
- A Zener diode is connected in parallel with the load resistor for voltage regulation.
- The series resistor limits current through the Zener diode to prevent damage.
- The circuit maintains a stable output voltage when the supply exceeds the Zener breakdown voltage.
- Decoupling capacitors are used to reduce voltage ripple and noise.
- Proper component selection ensures efficient voltage regulation and circuit stability.
Understanding the Zener Diode Circuit
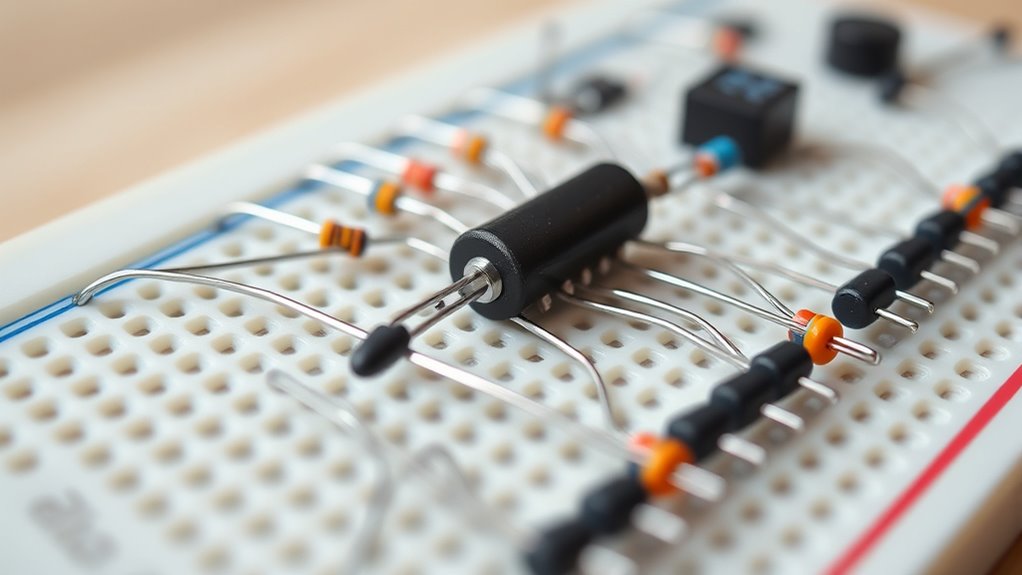
Even though it might initially seem complex, understanding a Zener diode circuit is straightforward when you break it down.
The Zener diode, connected in parallel to a load resistor, guarantees voltage regulation by maintaining a stable output. When a supply voltage greater than the Zener breakdown voltage is applied, the circuit achieves reverse bias, keeping the output constant despite load changes.
A current-limiting resistor is essential to prevent exceeding the Zener’s maximum power rating, securing the circuit’s safety and efficiency. Using Ohm’s law, the calculated resistor value limits current through the diode, protecting it.
Additionally, adding capacitors can reduce voltage ripple, enhancing stability. Mastering these elements helps you achieve a consistent and reliable output with the Zener diode circuit.
Key Components of a Zener Diode Circuit
With a firm grasp of how a Zener diode circuit operates, it’s time to explore its key components. A Zener diode is the heart of a voltage regulator circuit, maintaining a stable Zener voltage defined by its breakdown voltage. It’s typically connected in parallel with the load.
A series resistor is essential to control the current through the diode and prevent exceeding its maximum current and power dissipation. The resistor value can be calculated using Ohm’s law.
Sometimes, you might add a decoupling capacitor parallel to the load to filter electrical noise and enhance stability. Standard Zener diodes, like the BZX55 series, offer various voltage ratings, making them versatile for different applications.
Designing a Zener Diode Voltage Regulator

When designing a Zener diode voltage regulator, carefully select each circuit component, starting with a Zener diode that matches your desired output voltage.
Calculate the resistor value using Ohm’s law to guarantee the current stays within safe limits and doesn’t exceed the diode’s power rating.
This setup allows the Zener diode to stabilize the voltage by maintaining a consistent output, even when input voltage or load conditions change.
Circuit Component Selection
Designing a Zener diode voltage regulator starts with choosing the right components to guarantee peak performance.
Select a Zener diode with a breakdown voltage matching your desired output voltage, such as 5.1V or 9.1V. This will make certain the Zener diode maintains the correct output voltage.
Next, choose a series resistor to limit the Zener current, which protects the diode from exceeding its maximum power. Consider the power rating to prevent overheating—a 500 mW rating is commonly suitable.
Adding a decoupling capacitor can smooth voltage fluctuations, improving stability. This capacitor helps maintain a steady voltage regulator output, even with varying loads.
Each component guarantees efficient operation and maximum performance of your voltage regulator.
Resistor Value Calculation
Calculating the resistor value in a Zener diode voltage regulator is essential to guarantee the circuit performs effectively.
Applying Ohm’s law: R = (V_suppl—V_ZZ) / I_Z. Here, V_supply is the input voltage,e and V_Z I,s the Zener voltage. Confirm that the current through the resistor exceeds the Zener knee current, typically above 5-10 mA, to maintain effective voltage regulation.
Remember to take into account the maximum allowable current to prevent exceeding the Zener diode’s power rating, calculated as P_Z = V_Z * I_Z(max).
The load current must keep the diode within the breakdown region—otherwise, voltage regulation may fail. Include a ±5% safety margin to accommodate variations in supply voltage and Zener voltage tolerance.
Voltage Stabilization Mechanism
Having calculated the appropriate resistor value, you can now focus on how a Zener diode voltage regulator stabilizes voltage.
The Zener diode is connected in parallel with the load, while the series resistor limits the current through the diode. When the input voltage exceeds the Zener voltage, the voltage across the diode remains constant, guaranteeing voltage stabilization.
The current through the diode must stay within specified limits to maintain its functionality and avoid exceeding its power rating. This setup allows the voltage regulator to provide a constant output.
You might add a decoupling capacitor across the load to further enhance stability, which smooths voltage fluctuations. This configuration guarantees reliable operation and effective regulation for various applications.
Zener Diode Circuit Applications
Zener diodes, with their unique ability to maintain stable voltage levels, find a myriad of applications in electronic circuits.
They’re essential in voltage regulation, shunting excess current to ensure a stable output across varying loads. In clipping circuits, Zener diodes limit voltage to a predefined threshold, shaping AC waveforms, and preventing distortion during amplification.
They also offer over-voltage protection by clamping voltage spikes, safeguarding sensitive components. In power supply systems, you can configure Zener diodes in series to achieve higher Zener voltages, making them versatile for various applications.
Additionally, Zener diodes are used in noise generation circuits for dithering in analog-to-digital converters, utilizing their breakdown noise to enhance signal processing.
They’re truly indispensable in ensuring reliable electronic performance.
Troubleshooting Common Zener Diode Circuit Issues
Understanding the basics is essential for effective problem-solving when troubleshooting Zener diode circuits. First, verify that the Zener diode works by checking if the input voltage exceeds the Zener voltage (Vz) when entering the reverse breakdown region, allowing for proper voltage regulation.
Here are some steps to follow:
- Verify that the current-limiting resistor is correctly valued to avoid exceeding the maximum power rating, guaranteeing peak operation.
- Check the diode’s orientation; the cathode should connect to the positive rail, the anode to ground.
- Assess the load resistance; an overly low load can cause unstable voltage output.
- Add a decoupling capacitor across the load to improve voltage stability and filter out electrical noise.
These steps will aid in effective Zener diode troubleshooting.
Advanced Zener Diode Circuit Configurations

You’re about to explore advanced Zener diode circuit configurations that enhance functionality and adaptability.
You can achieve higher breakdown voltages tailored for specific needs by using series Zener diode applications.
Additionally, adjustable Zener voltage designs with potentiometers allow precise control over the output voltage, offering flexibility in various electronic applications.
Series Zener Diode Applications
Although many standard applications of Zener diodes focus on single-diode configurations, series Zener diode setups offer a versatile approach for achieving higher breakdown voltages. By connecting multiple Zener diodes in series, you can effectively add their breakdown voltages to achieve a custom voltage output.
However, to avoid damage, ensure that the total Zener voltage doesn’t exceed the circuit’s maximum voltage rating.
Consider the following benefits of using series Zener diodes:
- Custom voltage: Achieve precise voltage regulation beyond standard Zener values.
- Balanced current distribution: Choose diodes with similar current characteristics to prevent thermal runaway.
- Stability: Guarantee stable operation and consistent voltage dissipation.
- Advanced configurations: Use resistors to limit current, enhancing protection against excessive power dissipation.
Adjustable Zener Voltage Design
To create an adjustable Zener voltage design, you can incorporate a potentiometer (VR1) to fine-tune the output voltage (VZ) from 3V to 25V.
This circuit typically uses a base-emitter configuration with two transistors (Q1 and Q2), ensuring reliable voltage regulation. By adjusting the potentiometer, you set the desired Zener voltage, which remains constant despite input fluctuations, as long as the input surpasses the Zener threshold.
The resistor values (R1 and R2) form a voltage divider, essential for maintaining stability in the specified range. Transistors like BC547 and BC557 dictate the maximum current, which is usually capped at 100mA.
Careful selection and layout prevent power dissipation, ensuring the circuit operates effectively.
Conclusion
In wrapping up, you’ve seen how a Zener diode circuit is key to maintaining a stable voltage in various applications. By understanding its components and design, you can easily create effective voltage regulators that handle fluctuations. Remember the role of each part, and don’t hesitate to troubleshoot if issues arise. You’ll find even greater versatility and reliability in your electronic projects as you explore more advanced configurations. Keep experimenting and learning!
FAQs
1. How Does a Zener Diode Circuit Work?
You connect a Zener diode in reverse bias with a load and a current-limiting resistor. It maintains a stable output voltage by conducting excess current when the input voltage exceeds its breakdown voltage, ensuring your device operates smoothly.
2. How Should a Zener Diode Be Connected?
You should connect the Zener diode in reverse bias, with the cathode to the positive supply and the anode to ground. Ensure there’s a series resistor to limit current and a capacitor to smooth voltage fluctuations.
3. What Is the Difference Between a Zener Diode and a Normal Diode?
You notice that Zener diodes regulate voltage during reverse breakdown, while normal diodes don’t. Zener diodes allow reverse current at lower voltages, whereas normal diodes block it until a much higher breakdown voltage occurs. Each serves distinct purposes in circuits.
4. Does a Zener Diode Need a Resistor?
Yes, you’ll need a resistor with a Zener diode to limit current and prevent damage. It guarantees the diode stays in its breakdown region, maintaining stable voltage, and protects against excessive current that could cause failure.