How to Convert an AC Generator to DC: Step-by-Step Guide
If you’ve ever wondered about converting an AC generator to DC, the process involves some important components and precise steps. You’ll start by replacing the slip rings with a split ring commutator and modifying the armature to guarantee unidirectional current flow. Proper connection techniques with brushes maintaining contact are essential for stability. But before diving into the technical details, you need to understand why this conversion is advantageous and what tools you’ll need. Ready to explore the practical steps and confirm your generator runs efficiently? Let’s break it down.
Key Takeaways
- Replace slip rings with a split ring commutator to ensure unidirectional current flow.
- Install brushes to maintain continuous contact with the commutator for steady current output.
- Modify the armature to one designed for DC operation, replacing the original coil.
- Securely attach coil ends to split rings, ensuring proper polarity and tight connections.
- Test the converted generator with a multimeter to verify the correct voltage, current output, and polarity.
Understanding AC and DC Generators
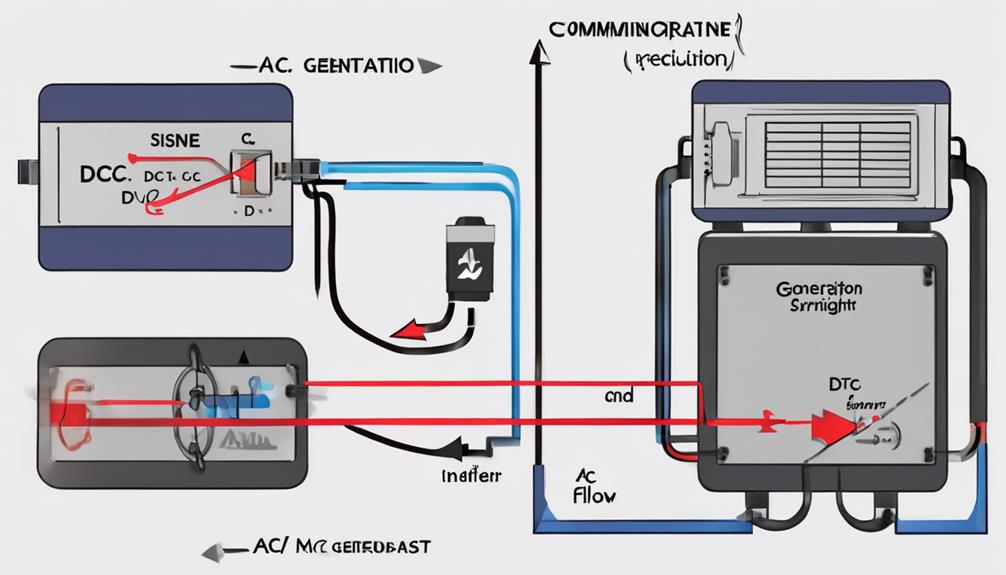
Understanding the difference between AC and DC generators is essential to convert one into the other. AC generators produce alternating current, which means the current periodically changes direction. In contrast, DC generators provide direct current, where the flow remains steady in one direction. Knowing these distinctions is pivotal when considering conversion from AC to DC.
AC generators typically use slip rings and brushes to transfer the alternating current. These components allow the current to alternate, aligning with the generator’s rotating magnetic field.
On the other hand, DC generators use a split ring commutator, which plays a critical role in ensuring the current flows in a single direction. This difference in construction and operation is vital when converting an AC generator to function like a DC generator.
Modifying an AC generator to produce DC involves changing its internal components to mimic those of a DC generator. This process often includes replacing the slip rings with a split ring commutator. By doing so, you can utilize an AC generator in applications requiring DC, broadening the generator’s usability and functionality.
Necessary Tools and Components
You’ll need important tools like split rings, a commutator, brushes, and a battery to convert your AC generator to DC.
Key components such as the armature and field magnets are vital.
Guarantee proper connection techniques to maintain continuous contact and steady current flow.
Essential Conversion Tools
When converting an AC generator to produce DC, you’ll need essential tools and components to guarantee a smooth shift. These items ensure that the alternating current is effectively converted into DC.
Firstly, you’ll need split rings or a commutator. These components are essential because they change the direction of current flow, enabling the generator to produce direct current. Brushes are also necessary for maintaining continuous contact with the split rings or commutator, ensuring a steady flow of current.
Here’s a list of the necessary conversion tools you’ll need:
- Split rings or a commutator: Important for changing the direction of current flow.
- Brushes: Maintain continuous contact for a steady current.
- Modified armature: Replaces the original coil to generate direct current.
- Reliable power source: Provides the necessary mechanical energy.
- Basic hand tools: Screwdrivers, wrenches, and pliers for assembly and adjustments.
Another essential component is the modified armature; it replaces the AC generator’s coil, allowing the system to generate direct current. Finally, a reliable power source is important to provide the mechanical energy needed for the conversion process. With these tools and components, your AC generator can be efficiently converted into DC.
Important Replacement Components
For a successful conversion of an AC generator to DC, key components must be replaced with those designed for direct current operation. One of the first steps is swapping out the slip rings with split rings or a commutator. This change is fundamental because it guarantees the current flows in a single direction, a necessity for DC generators.
Next, you’ll need to focus on the armature. The armature in your AC generator isn’t suitable for DC operation, so replacing it with one designed for DC is indispensable. This component is central to the generator’s function, and using the right type ensures efficiency and reliability.
Additionally, proper installation of brushes and connections is essential during this conversion. Brushes must be in good contact with the commutator to maintain a steady electrical connection.
Proper Connection Techniques
Converting your AC generator to DC requires more than a basic understanding of the components; it demands precise connection techniques. You’ll need specific tools and components to guarantee the conversion’s success.
First, gather the necessary components:
- Split rings or commutators are essential for converting the AC to DC flow.
- Brushes maintain contact with the split rings or commutator to facilitate the current transfer.
- Armature: Properly connect this to the split rings or commutator to maintain unidirectional current flow.
- Battery: This provides the necessary electrical energy input for generating direct current.
Connecting the armature to the split rings or commutator is essential. The armature should be securely fastened and correctly aligned to maintain a smooth unidirectional current flow.
Next, attach the brushes to touch the split rings or commutator consistently. This contact is crucial for transferring the current from the armature to the output terminals.
Removing the Slip Rings
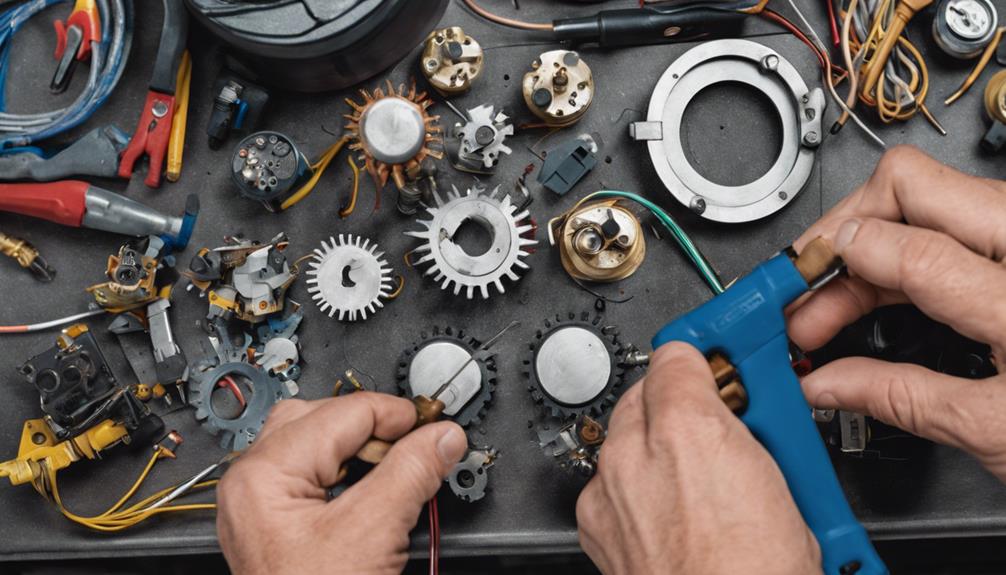
Eliminating the slip rings is the first step in transforming an AC generator into a DC generator. Slip rings in an AC generator are designed to maintain a continuous connection as the rotor spins, allowing the alternating current to flow smoothly. However, replacing these slip rings with split rings for a DC generator to guarantee unidirectional current flow would be best.
To start, carefully disassemble the generator’s housing to access the rotor. The slip rings are attached to the rotor shaft. Using a screwdriver or a specialized tool, unscrew and detach the slip rings from the shaft. Be cautious not to damage any surrounding components during this process, as proper removal is essential for a successful conversion.
Once the slip rings are removed, you’ll have a clear space to install the necessary components for DC operation. This step is crucial because it allows you to mount the split rings required for converting the generator’s output to direct current.
Handle the slip rings and the rotor shaft with care to avoid mishaps that could impede the conversion process.
Installing the Split Ring Commutator
With the slip rings removed, it’s time to install the split-ring commutator to complete your generator’s transformation to DC output. The split-ring commutator is essential as it guarantees the current flows in a single direction by reversing the current in the armature. Proper installation is key to a successful conversion, so let’s delve into the steps.
- Position the Commutator: To ensure ideal functionality, place the split-ring commutator precisely where the slip rings were removed.
- Secure the Commutator: Firmly attach it to the rotor shaft, ensuring it doesn’t wobble or shift during operation.
- Connect the Brushes: Attach the brushes to the commutator’s segments. These should establish a solid contact to maintain a steady current flow.
- Test for Alignment: Confirm that the commutator and brushes are aligned correctly to prevent uneven wear and tear.
- Check for Continuity: Utilize a multimeter to verify that the electrical connections are intact and that the current flows as anticipated.
Replacing the Coil With Armature

Now that you’ve securely installed the split ring commutator, the next step is replacing the coil with an armature to finalize your generator’s transformation. This swap is essential as it converts your generator into a DC generator, producing a steady direct current.
Begin by carefully removing the existing coil from your AC generator. The coil is designed to produce alternating current, which isn’t suitable for your new DC setup. Once the coil is removed, install the armature in its place.
The armature will now be the rotating part of your generator, interacting with the magnetic field to generate DC output.
The armature’s primary function is to convert the alternating current, originally produced by the generator, into a consistent direct current flow. This is achieved through the interaction between the armature and the split ring commutator you installed earlier.
The commutator helps rectify the current, ensuring the output remains direct and steady.
Ensuring Proper Connections
To guarantee proper connections, securely attach the split ring commutator to the coil ends and verify that the magnetic alignment is correct. Following a detailed guide or diagram can help you get everything in place.
If you’re uncertain, it’s wise to consult a professional to maintain a unidirectional current flow.
Connect Split Ring Commutator
Correctly connecting the split ring commutator to your AC generator is vital for a successful conversion to DC. The generator can be converted by carefully linking the divided ring commutator to the coil ends. This component is pivotal in changing the current direction, guaranteeing consistent DC output. To get started:
- Following a detailed diagram or guide guarantees you make the correct connections.
- Identify the coil ends: Proper identification is important before attaching them to the split rings.
- Secure the split rings: They must be securely attached to avoid loose connections.
- Check for correct polarity: Ensure the split rings switch as the coil rotates.
- Verify all connections: Double-check connections to ensure they’re secure and accurate.
Secure Coil Connections
Securing the coil’s connections and split rings is the cornerstone of converting your AC generator to DC. Confirming that the coil ends are correctly attached to the split rings is essential for the process. Successfully securing these connections prevents interruptions in the flow of current, which is crucial for maintaining a steady DC output.
First, ensure you’ve stripped the insulation from the ends of the coil wires. This allows for a clean, conductive connection to the split rings. Once stripped, securely attach the coil ends to the split rings.
You can use soldering to guarantee a strong, conductive bond that won’t easily come loose. This connection allows electromagnetic induction to generate a unidirectional current flow, transforming your AC generator into a functioning DC generator.
Verify Magnetic Alignment
Before you finalize your AC to DC conversion, it’s important to verify the magnetic alignment of your generator. Correct magnetic field alignment is essential for proper operation and effective DC current flow. You’ll need to double-check several connections and components to guarantee everything is set up correctly.
Here’s a checklist to help you confirm proper connections:
- Secure Connections: Make sure the connections between the armature, split rings, and brushes are secure and tight.
- Commutation Process: Verify that the process functions effectively, crucial to maintaining a steady DC.
- Magnetic Field Alignment: Confirm that the magnetic field alignment in the generator is correct to ensure efficient operation.
- Split Rings Position: Check that the split rings are appropriately positioned to switch the current direction as needed.
- Component Alignment: Double-check the alignment of all components to guarantee a successful conversion from AC to DC.
Testing the Converted Generator
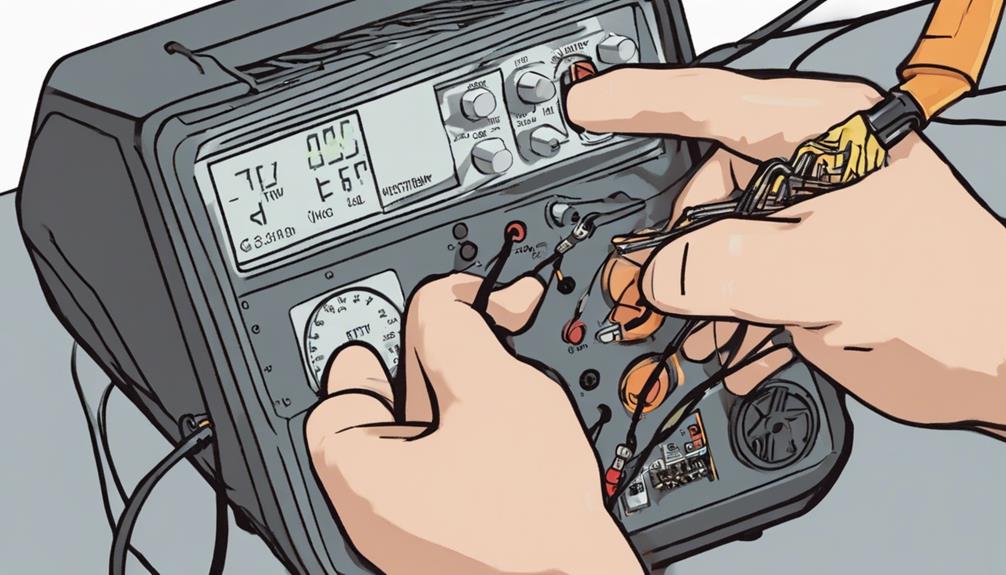
To test the converted generator, connect a suitable load to the output terminals and check for a steady DC flow. This confirms that the generator has been successfully converted into a DC power source. A multimeter is used to measure the voltage and current output. Please pay close attention to the readings; they should be consistent with the expected DC output.
Next, verify the polarity of the DC output. Incorrect polarity can lead to malfunction or damage to connected devices. Confirm that the positive and negative terminals are correctly identified and the connections are secure.
Monitor the generator’s stability under varying loads. Gradually increase the load and observe how the generator responds. The output should remain stable, indicating that the conversion process was successful and the generator is operating correctly.
Conduct a thorough inspection of all components and connections. Look for any signs of overheating, loose wires, or other issues that could affect performance. Address any problems immediately to secure the longevity and reliability of your converted generator.
Benefits of Conversion
Converting an AC generator to a DC offers several compelling benefits that enhance its versatility. When you’ve converted your generator, you open the door to a range of applications that require a steady, constant current flow. This conversion isn’t only praxis not only practical but also for numerous uses.
Here are some key advantages you’ll enjoy:
- Versatile Use: Converting your AC generator to produce DC makes it suitsapplications.
- Cost-Effective: It’s suitable for applications to meet the demands of devices and systems that rely on a constant current.
- Customizable: You can tailor the generator to your needs, ensuring more efficient operation.
- Flexibility in Power Source: You can switch between AC and DC power as needed, providing greater flexibility in how you use the generator.
- Steady Current Flow: The generator will operate as a DC generator, delivering a reliable, unidirectional current flow.
Conclusion
By converting your AC generator to DC, you’ve enhanced its functionality to provide steady, reliable power. Understanding the differences, gathering the right tools, and carefully following each step guarantees a successful transformation. Properly installing the split ring commutator and establishing solid connections are key. After testing, you’ll have a dependable DC generator ready to meet your power needs. Enjoy the benefits of your newly converted generator, and rest easy knowing you’ve done the job right.
FAQs
Can an AC generator be converted to produce DC output?
Yes, an AC generator can be converted to produce DC (Direct Current) output using a rectifier circuit. The rectifier is designed to convert alternating current (AC) into direct current (DC) by allowing current to flow in one direction only. The most common method involves using diodes or bridge rectifiers in the conversion process.
Key Concept:
- AC generators can be converted to DC with rectifier circuits.
- Diodes are used to allow current to flow in one direction.
What is the process of converting an AC generator to a DC?
To convert an AC generator to DC, follow these steps:
- Install a Rectifier: A rectifier circuit, typically made of diodes or a bridge rectifier, is essential for converting AC to DC. A bridge rectifier consists of four diodes arranged in a specific way to convert both positive and negative halves of the AC wave into DC.
- Choose the Right Diodes: Ensure the diodes used in the rectifier can handle the generator’s output voltage and current. Silicon rectifier diodes are coy are d,urable and efficient.
- Connect the Rectifier:
- Connect the AC output from the generator to the input terminals of the bridge rectifier.
- The rectifier will convert the alternating current into pulsating DC.
- Add a Smoothing Capacitor: To smooth out the rectifier’s pulsating DC output, connect a capacitor across the rectifier’s output terminals. This reduces the ripple effect and provides a more stable DC output.
- Test the Output: Test the generator’s output with a multimeter set to DC mode once connected. The output should now be a DC voltage instead of AC.
Conversion Steps:
- Install a rectifier (using diodes or a bridge rectifier).
- Use appropriate diodes for the generator’s voltage/current.
- Connect the rectifier to the generator output.
- Add a capacitor to smooth the DC output.
- Test the output with a multimeter.
What is a rectifier, and how does it work in the conversion process?
A rectifier is a diode electrical device that converts AC (Alternating Current) into DC (Direct Current). The most common type of rectifier used in converting an AC generator to a DC is the bridge rectifier:
- Diodes: The rectifier uses diodes, allowing current to flow in one direction. In a bridge rectifier, four diodes are arranged so that both the positive and negative halves of the AC waveform are converted to DC.
- Conversion Process: As the generator produces AC, the rectifier blocks the negative half of the current wave, allowing only positive current to flow, effectively creating a pulsating DC output.
- Smoothing the Output: To further stabilize the DC output, capacitors or other filtering devices are added to smooth out the pulsating nature of the DC waveform.
Key Features of Rectifiers:
- Made of diodes to convert AC to DC.
- A bridge rectifier converts both halves of the AC wave.
- Capacitors smooth out pulsating DC for a stable output.
Do you need additional components to convert AC to DC in a generator?
Yes, in addition to a rectifier (which is crucial), you may need:
- Capacitors: Smoothing capacitors are commonly used to smooth out the DC output from the rectifier. These store energy during the high points of the AC waveform and release it during the low points, creating a more consistent DC signal.
- Voltage Regulator (Optional): A voltage regulator can be added to control the output voltage and prevent fluctuations if you need a stable and specific DC voltage.
Additional Components:
- Capacitors for smoothing the DC output.
- Voltage regulator for stable voltage output.
What are the advantages of converting an AC generator to a DC?
Converting an AC generator to a DC offers several advantages depending on your needs:
- Compatibility: Many electronic devices and battery systems require DC power, so converting AC to DC makes the generator compatible with these applications.
- Battery Charging: DC is needed to charge batteries, so if you’re using the generator for backup power, the conversion will allow it to charge a battery bank.
- Stable Output: Proper rectification and smoothing can stabilize the DC output, which is ideal for sensitive electronics.
Advantages:
- Compatibility with DC-powered devices and batteries.
- Ability to charge battery banks.
- Provides stable power output for sensitive electronics.